
WHAT IS IT AND WHAT IS THE USE OF FORMATTING THE PC?
Formatting a PC means totally erasing the information that exists on the PC's storage hard drive. In this sense, the operating system that was installed is also eliminated, so that the storage device is completely free.
Formatting the PC serves as a strategy that is applied for those occasions in which the operating system is unstable and a new installation of it is required. Also when there is suspicion of a virus that cannot be destroyed, if the equipment works very slowly or also because:
- Eliminate garbage: Makes the process much simpler, by leaving the device clean, it is from scratch.
- Delete viruses and harmful files: By deleting all files, you can be certain that viruses, Trojans and the like are also deleted.
- Start again with the operating system: Sometimes there are failures in the updates or in the system, formatting the PC solves these failures.
- Because the equipment is very slow: With the passage of time, we install programs that consume the resources of the PC, the formatting will leave the device as if it had just left the store.
- To improve privacy: There are files and elements that are hidden and take up space; formatting frees up that space and you can configure the system from scratch.
- Lack of space: Formatting frees up the whole disk leaving it completely empty.
BOOTABLE USB TO FORMAT A PC
Before formatting, you need a bootable USB drive with Windows installation media. Here are the requirements:
- A USB drive with at least 8GB of space.
- Windows ISO file (Windows 10 or Windows 11 recommended).
- Rufus software (free tool to create bootable USB drives).
Download Rufus from the official website and use it to create your bootable USB drive by selecting the Windows ISO file and your USB drive.

STEPS TO FORMAT A PC

-
Click on start, and restart the PC and connect the bootable USB.
-
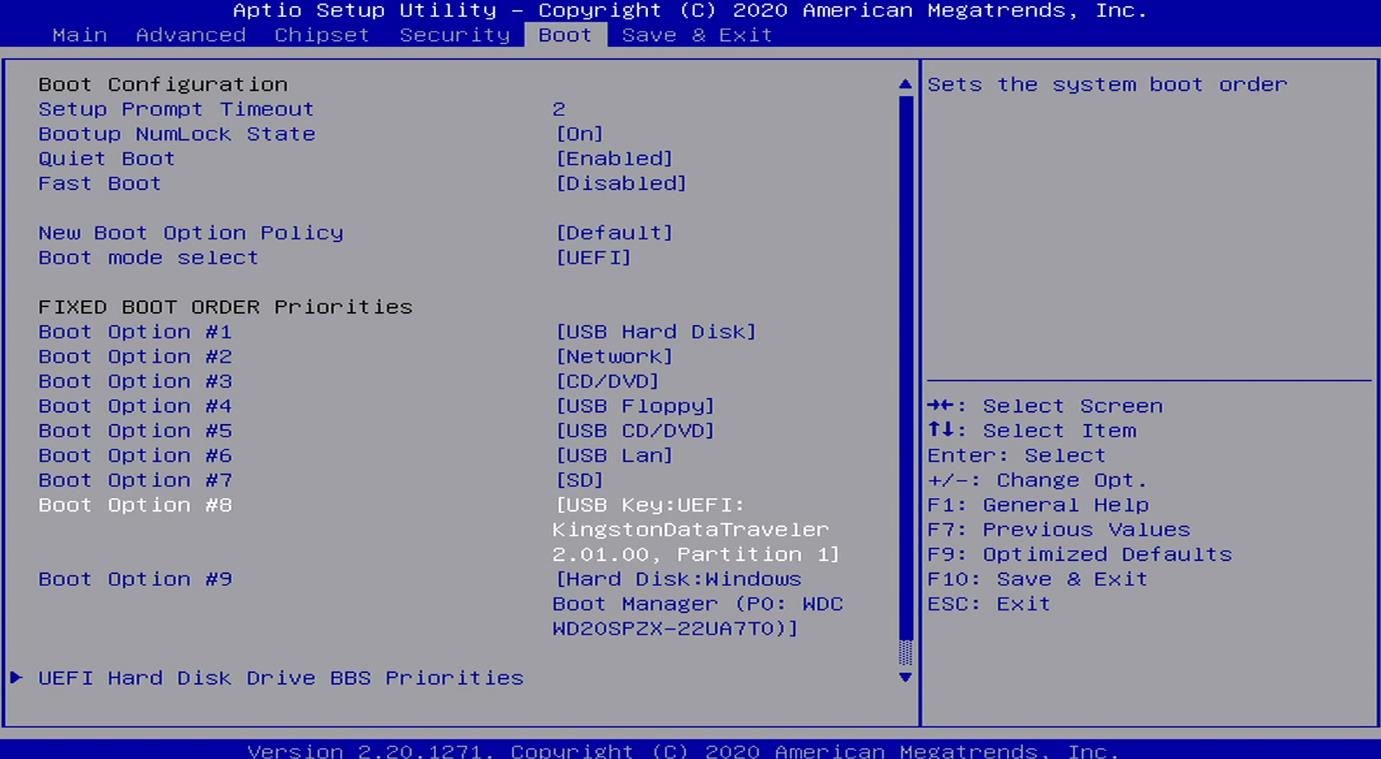
Configure the PC to boot from the bootable USB. For this we need to enter the BIOS (depending on the brand of the PC, press the keyboard: Acer: F2, Asus: Esc or F2, Compaq: F10, Dell: F2, HP: F10, Lenovo: F1 or F2, Toshiba: F1 or Esc). Once in the BIOS, go to the Boot section and select the USB and set it as the first option.
-
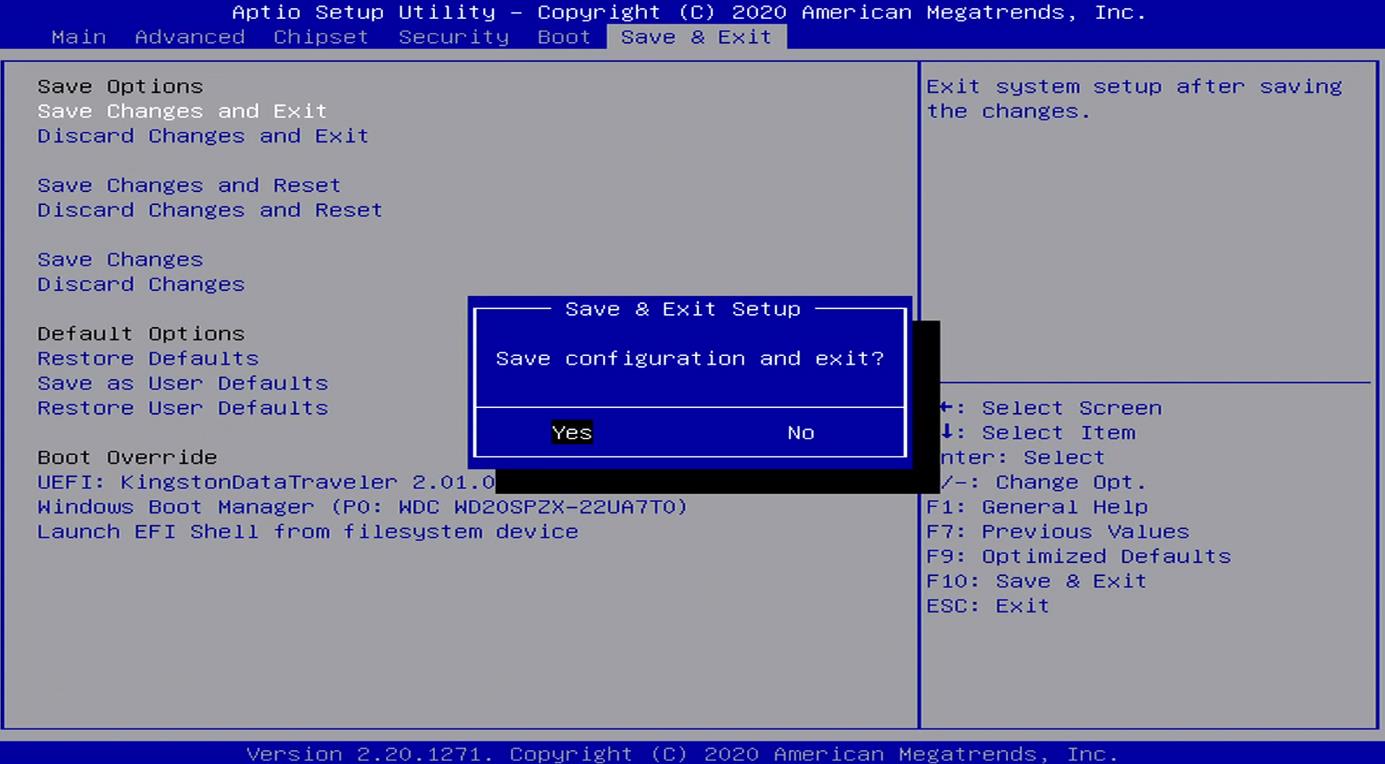
Go to the Save & Exit section, select Save Changes and Exit and click on Yes. The PC will automatically restart.
-
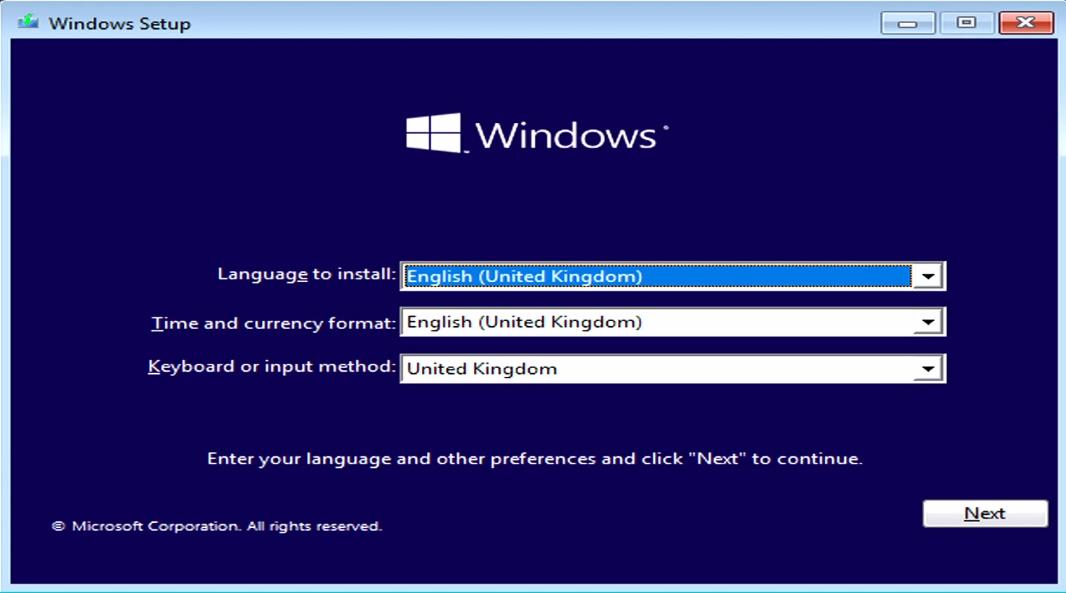
Select your language and click on Next.
-
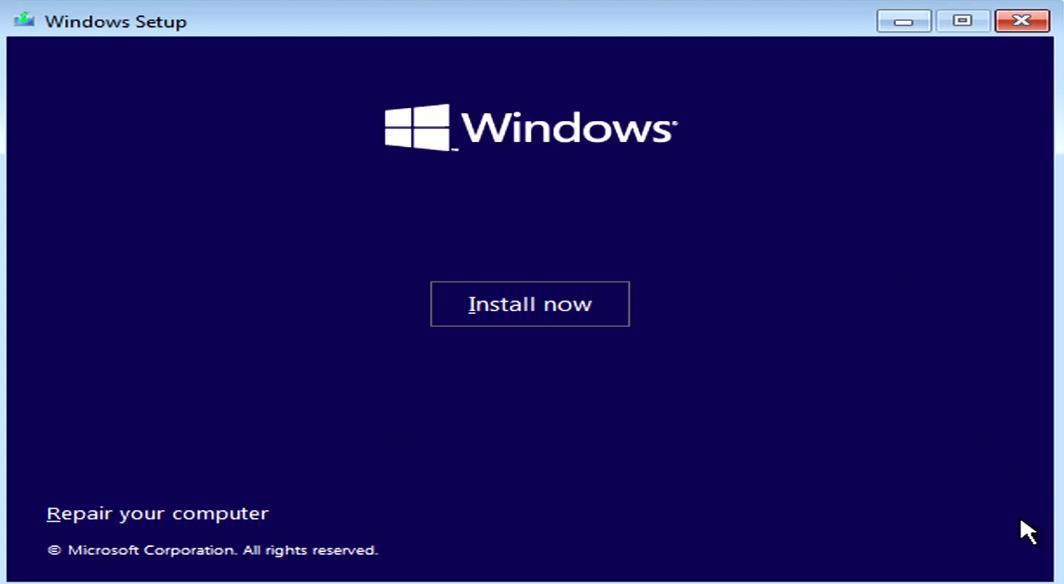
Click Install Now.
-
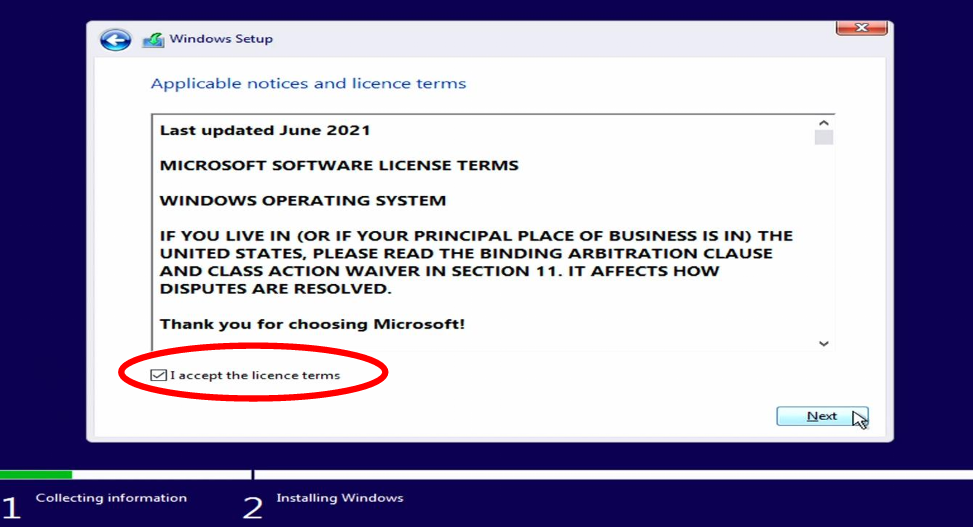
Accept terms and click on Next.
-
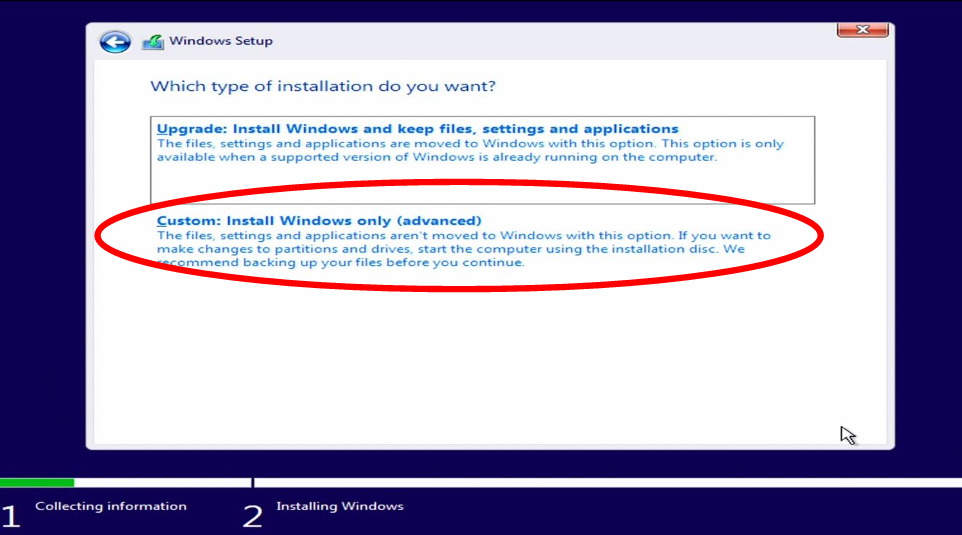
Select Custom: Install Windows only (Advanced). This will allow you to format the hard drive during the installation.
-
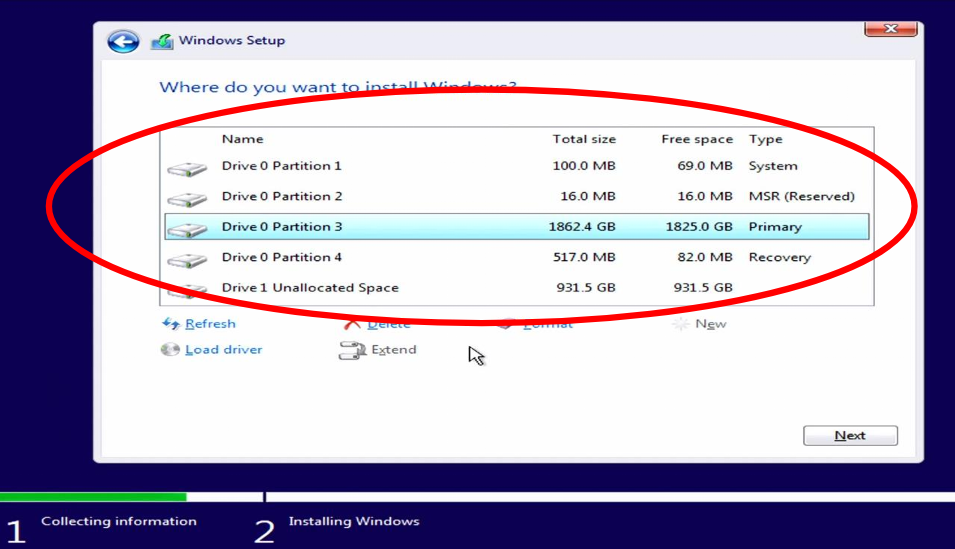
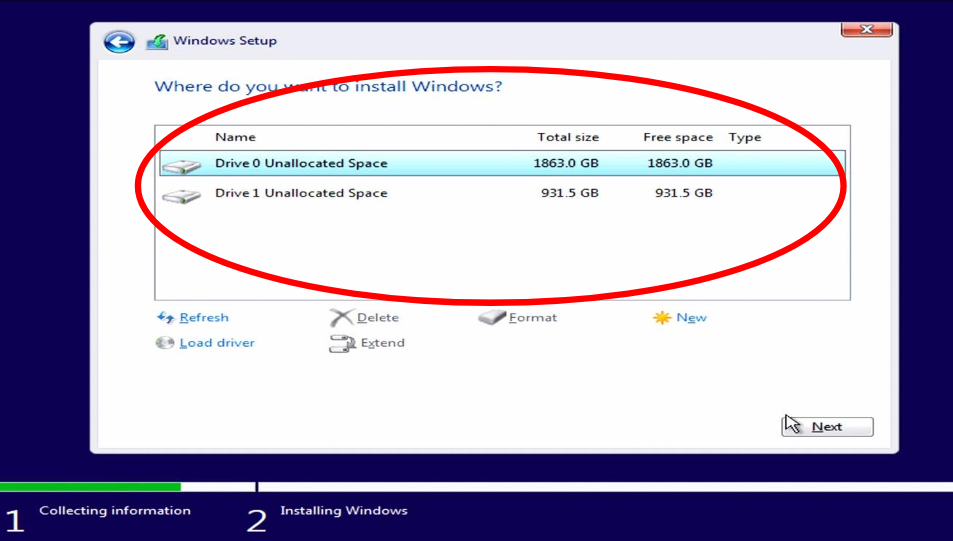
Select the partition to format, click Format and then Delete. This may take a couple of minutes to complete.
-
Select the partition and click on Next to start the installation process.
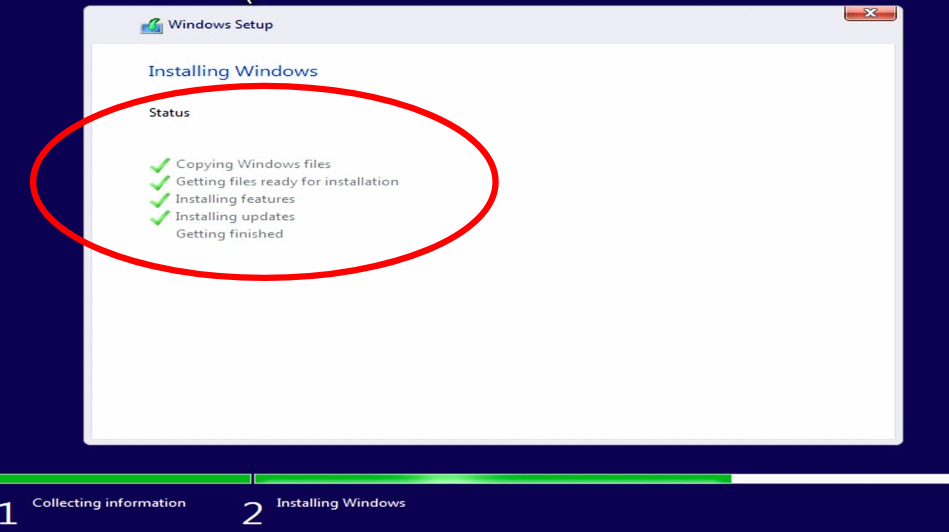
-
The Windows installation process follows its course.
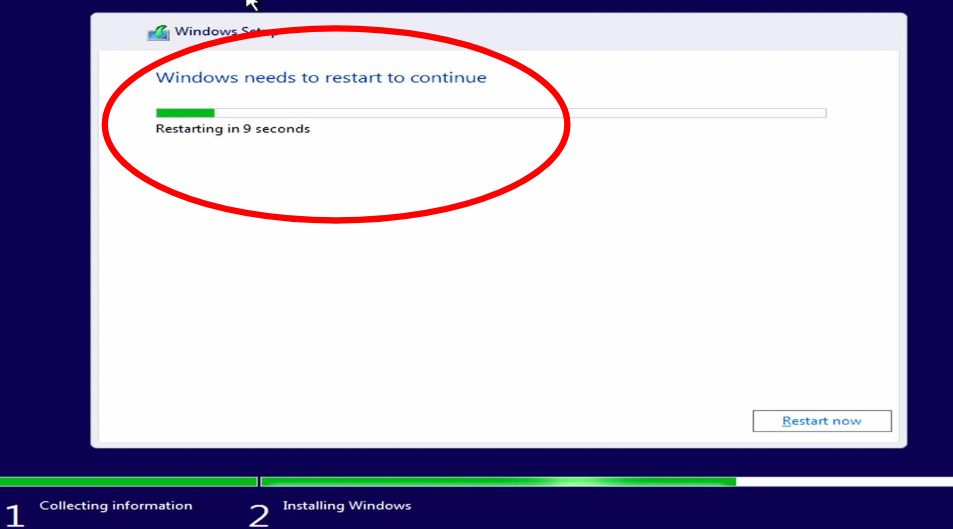
-
In this process we disconnect the bootable USB and let it restart automatically.
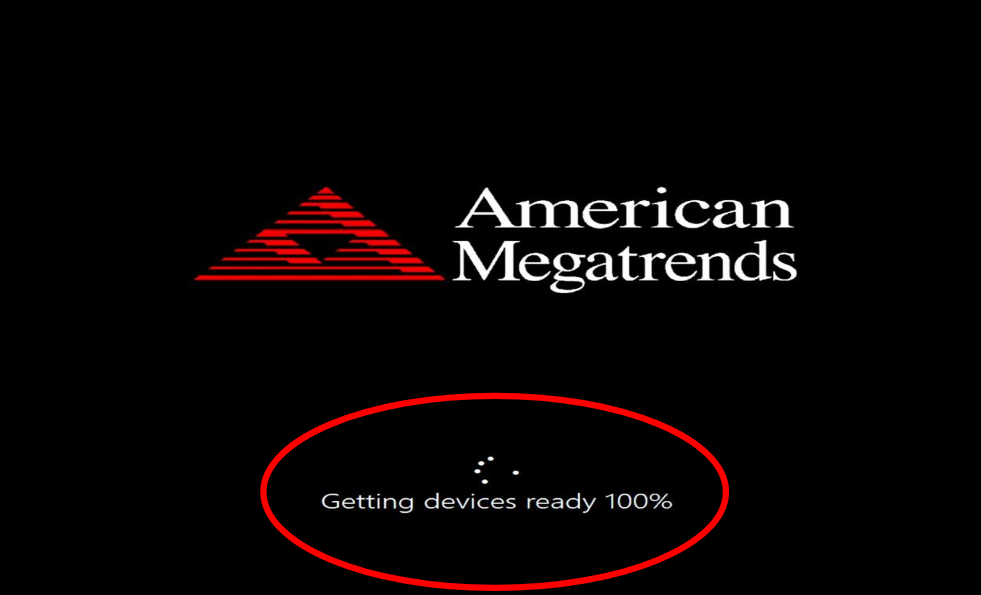
-
This may take a couple of minutes.
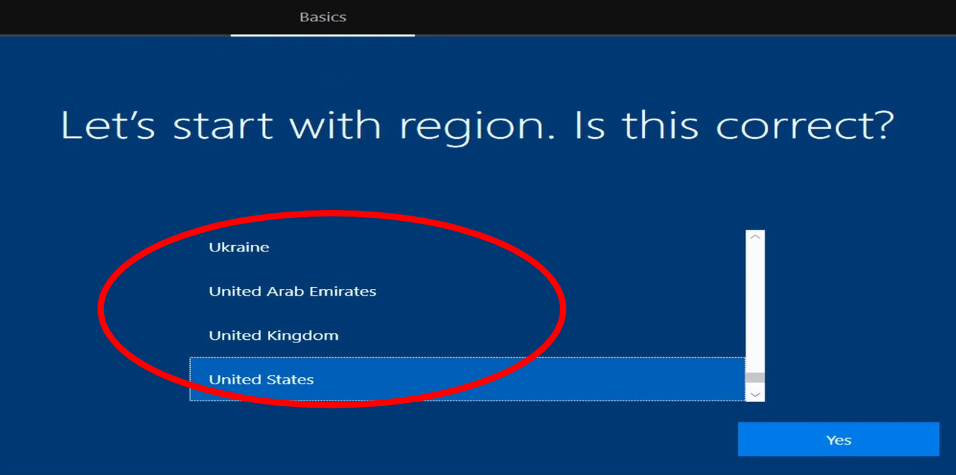
-
We will start with the basic configurations. Select the region, then it will ask us to select a network connection. We click on "I don't have internet".
-
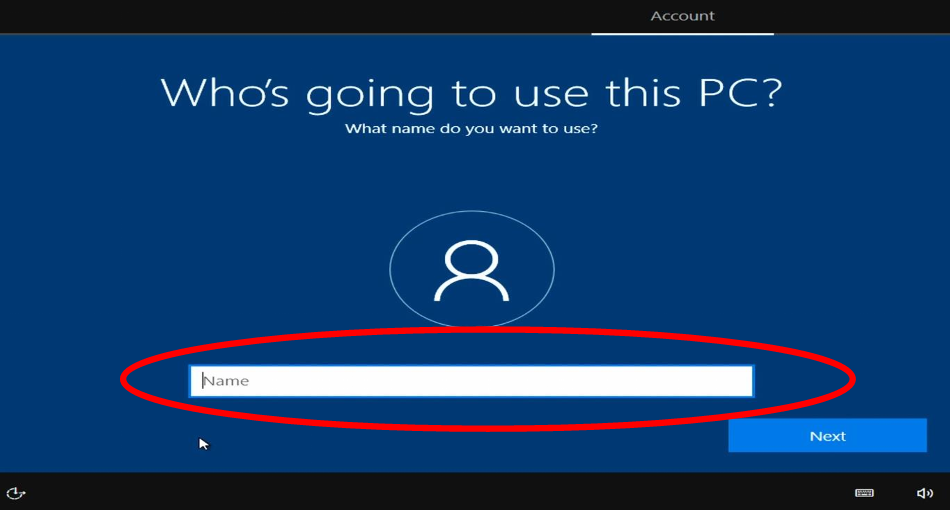
Continue with the configuration. Here we will place the name that the PC will have, and then if necessary we will put a password.
-
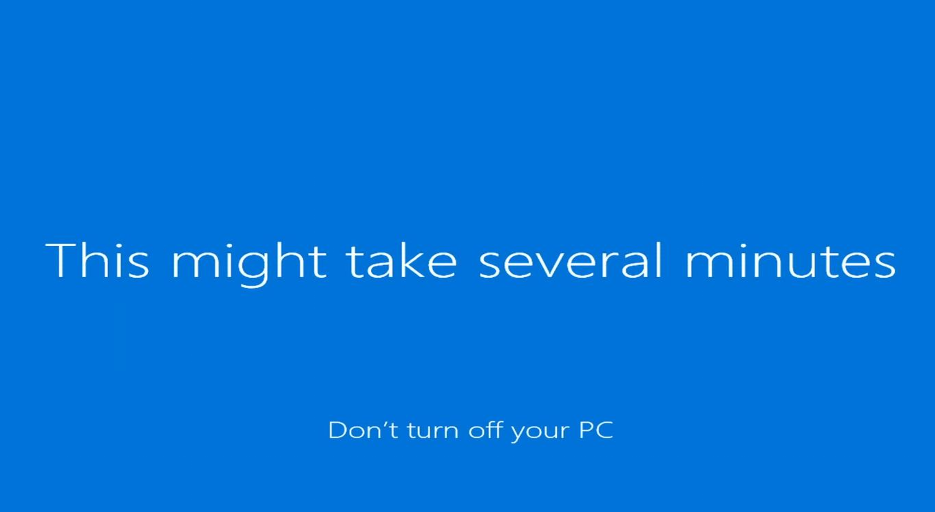
Last step to be able to start Windows. Just wait for the process to finish. It may take time.
-
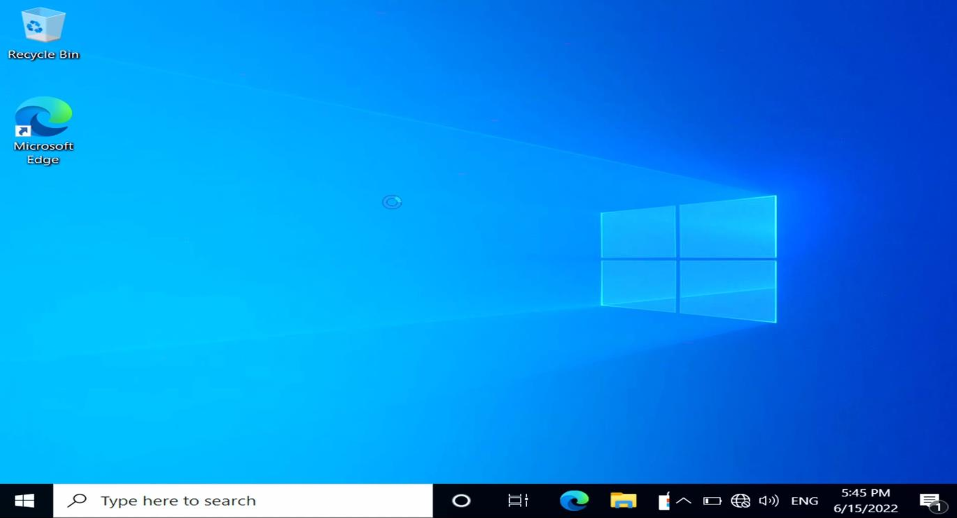
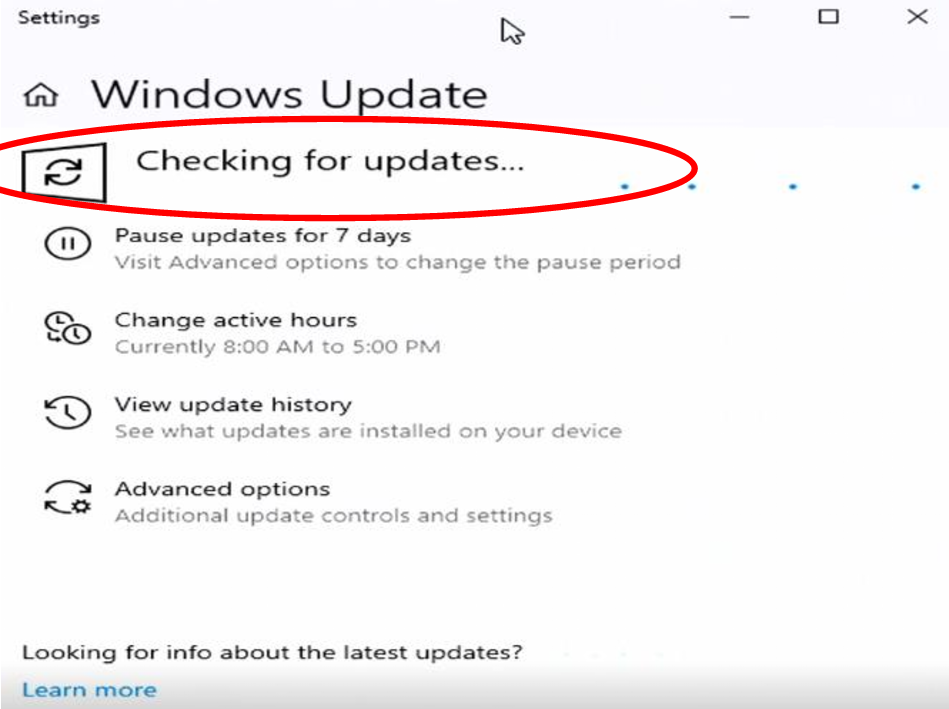
Start Windows. Here we go to Start Settings, Update & Security and select Windows Update.
-
Click on "Check for updates". We will get a list to update. We download the updates and ready.